
Beginner’s Guide
Welcome to Pats Peak!
If you are new to Pats Peak or just starting out learning to ski or snowboard – WELCOME!
Our “Beginner’s Guide” is to help you with your first experience to be sure it’s a great one!
By reviewing this information you’ll arrive at Pats Peak well prepared to begin your skiing or snowboarding adventure.
Part of learning to ski and snowboard, is knowing how to be safe on the slopes. Check out our Pats Peak Safety page to learn more.

How To Dress
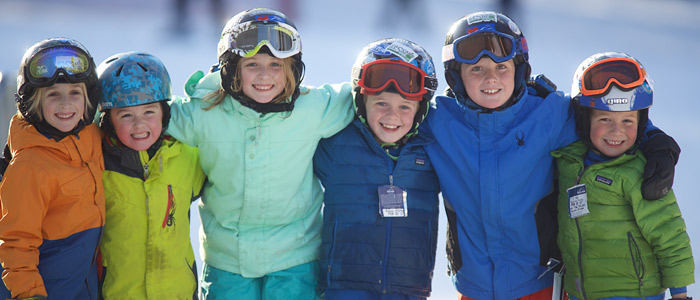
How To Dress
- Dress in layers. A number of lighter layers allow you to adjust your clothing as the temperature changes.
- Wear a base layer of long underwear.
- Warm collared shirt, sweater or fleece.
- Water and wind resistant pants. Snow or ski pants work best. Avoid sweat pants, they get wet very quickly! Be sure your pants are wide enough at the bottom of the legs to fit over large boots.
- Jacket or shell with a high collar, once again water and wind resistant is best.
- High socks. Bring a couple of extra pairs of socks – the higher, the better. Avoid socks with big, thick seams, if possible.
- Gloves or mittens. Gloves allow more freedom of movement, but mittens are warmer. Avoid knit gloves, they get wet very quickly.
- Warm hat that covers you ears. The old saying “If your feet are cold, put on a hat” is true! Or you can rent a helmet in our Rental Shop or purchase a helmet in our Finish Line Ski & Board Shop.
- Sunscreen and lip balm, SPF 15 or greater. Even on cloudy days it is very easy to get too much sun when on the snow.
- Eye protection. Either sunglasses or goggles. We sell goggles in our Finish Line Ski & Board Shop.
- Be sure to bring extra clothes to change into for the ride home!

The Pats Peak Finish Line Ski & Board Shop, conveniently located just steps from the slopes, carries everything listed above.
Stop by the shop upon arrival to Pats Peak and our friendly staff will help you complete your outfit!

Kid Lesson Options

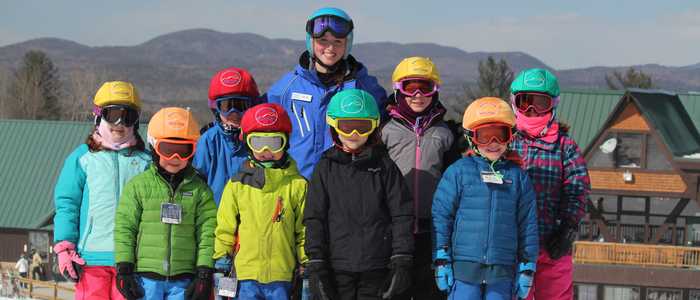
Kid Lesson Options
- Ages 2-3: Mini’s
- Ages 4-6: Cub’s Club
- Ages 7-14: Bear’s Club
For all the details, view our Kids Program section.
In addition to specific Kids Programs, we offer:
- Private Lessons starting at age 3
- Group Lessons starting at age 7

Upon Arrival

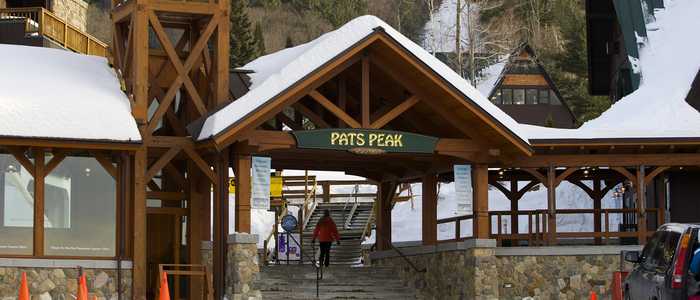
Upon Arrival
Parking
There is plenty of free parking at Pats Peak Ski Area. If you arrive early in the day, you will probably get to park very close the the lodge area. For later arrivals, there are unloading zones in front of the lodge and ticketing areas.
Kids Program Locations
- Please follow the signs to the Bears/Cubs Check-In Area in the Lower Level of the Main Lodge.
- Cub’s Club check in begins at 8:30am. Children must be checked in by 9:15 am. Please remember to give yourself plenty of time.
If you are not part of the Kids Program and need rentals, proceed to the Rental Shop.
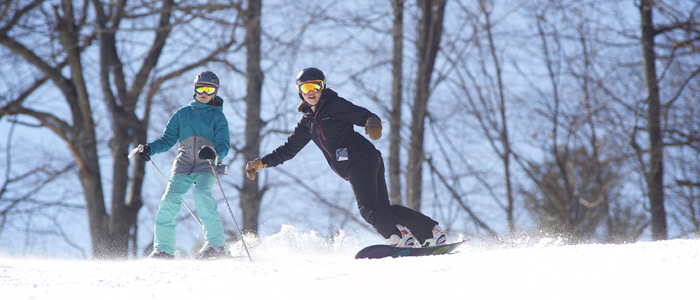
Our Rental Shop entrance is on the bottom floor of the lodge on your right hand side in the plaza area. Enter our Rental Shop to equip you with the latest and greatest rental equipment. It is here where your journey to winter fun begins.

Rentals
Rentals
Getting To Know Your Equipment
Fitting Your Ski Boots
The first equipment you are issued are your boots. The rental technician will need to know your shoe size to assure that your boots fit properly.
Your boots should feel snug around your foot, but not tight. Once buckled, you should be able to wiggle your toes, but your heel should not move when you pull up on it. If your boots feel too loose or too tight, please do not hesitate to ask for a different size!
Everything You Wanted to Know About Skis
Next, you will receive your skis. Our skis are expertly tuned and waxed. On the top of your skis you will find complicated bindings. These miracles of modern engineering not only hold your feet on the skis, but they also know when to let you go if you fall. A binding technician will set your bindings based on your weight, height, age, and ability level. Please be as accurate as possible to assure proper settings!
You will also be issued ski poles – which are used for balance and moving around. A good fit on ski poles is to grab the ski pole that puts your elbow at a 90 degree angle.
To use your bindings to attach your skis to your feet, place the little ledge on the front of your boot under the front binding piece (called the toe piece), line up your heel and press down. To get out, you simply press down on the lever in the back with your ski pole. If you ski comes off during skiing, the ski brake will stop it from continuing down the hill without you!
Snowboards 101
Snowboards work pretty much like skis do. The big difference is that they are much wider, and you only get one. They have a sidecut just like skis, and turn the same way a ski turns.
Snowboard bindings have one big difference from ski bindings – they don’t release! Once your feet are in, they should stay there. Getting in your snowboard bindings is easy, you put your foot as far back in the binding as possible, push the plastic ladder strap into the end of the main strap with the buckle on it, until the ratchet clicks and the straps will not come apart. To tighten the strap, pull the large lever on the buckle back and away from the boot. Then let the lever spring back to position and repeat until the strap is tight enough. The straps should generally be quite tight so that the boot cannot move much in the binding, although not so tight that your circulation is starting to be cut off. To release the binding simply push the release catch in the middle of the buckle forwards and pull the main strap away from the plastic ladder strap. The release catch lifts the ratchet off of the ridges on the ladder strap so that the straps can slide smoothly apart. When loading a lift, you will take out one of your feet out of your binding and keep the other one in.
Burton Learn To Ride (LTR) Center:

Designed to accelerate learning by utilizing beginner-specific equipment. It provides snowboard beginners with gear designed to improve their experience as well as proven teaching methods to make for an enjoyable and successful first day. The equipment is tailored by gender and age to maximize each individual’s learning potential.

What do Expect in a Lesson
What do Expect in a Lesson
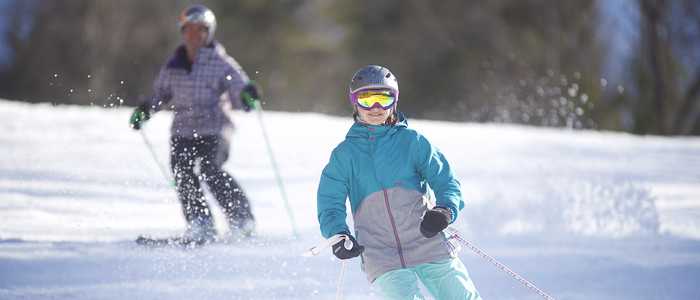
In your lesson, you’ll learn all of the basic skills that you need to get started on a lifetime of skiing or snowboarding fun!
The first thing you will learn is how to put on your skis or snowboard and how to move around on the flat. This will give you a chance to get to know your equipment and get the feel for sliding around.
You will also learn how to climb up the hill and turn yourself around while standing still. All of these skills are presented in a very flat area with a “runout”. A runout helps you stop yourself while you are learning.
Next you will learn to slide straight down the hill. Unless you are an ice skater or in-line skater, your brain has been programmed to believe that sliding across the ground while standing up is, as a rule, something to be avoided. It takes a few runs down the hill before your brain figures out that it is not only OK, but a lot of fun.
Once you have mastered “straight runs”, you will be taught how to turn your skis or snowboard. Turning offers two benefits – it allows you to avoid things you do not wish to meet up close, and it allows you to stop whenever you want – both commendable goals.
Your rental skis or snowboard are designed to turn easily so you’ll be happily turning in no time. Once you get to the point that you can go where you want to go and stop yourself with confidence, it is time for your first lift ride.

The First Chair Lift Ride
The First Chair Lift Ride
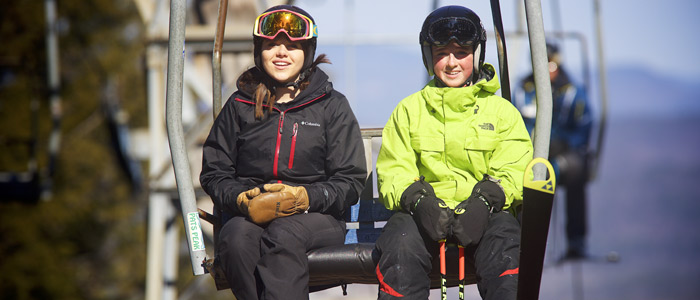
If you have ever sat on a porch swing, you have mastered the art of loading and riding a chairlift. As you slide out onto the loading area, the chair will come up behind you. When the chair touches the back of your legs, simply sit down and enjoy the ride. Get more details on how to load the Peak Triple Chairlift with the loading carpet. There is a restraint bar that you pull down in front of you for the ride, please use it.
At the top of the lift, you will see signs instructing you to raise the restraint bar and prepare to unload. The snow will gradually come up to meet your skis or snowboard. When you get to the “Unload Here” sign, stand up, lean slightly forward and slide straight down the ramp.
When you take your first look down the hill, you may feel like you have been deposited on the summit of Mount Washington – don’t worry look for the “easy way down” sign” and take that way down.

How to Dress
How to Dress
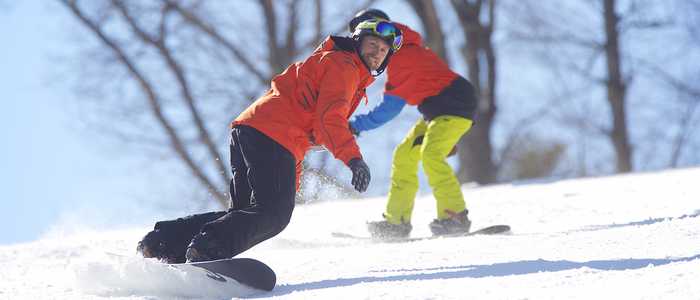
- Dress in layers. A number of lighter layers allow you to adjust your clothing as the temperature changes.
- Wear a base layer of long underwear.
- Warm collared shirt, sweater or fleece.
- Water and wind resistant pants. Snow or ski pants work best. Avoid sweat pants, they get wet very quickly! Be sure your pants are wide enough at the bottom of the legs to fit over large boots.
- Jacket or shell with a high collar, once again water and wind resistant is best.
- High socks. Bring a couple of extra pairs of socks – the higher, the better. Avoid socks with big, thick seams, if possible.
- Gloves or mittens. Gloves allow more freedom of movement, but mittens are warmer. Avoid knit gloves, they get wet very quickly.
- Warm hat that covers you ears. The old saying “If your feet are cold, put on a hat” is true! Or you can rent a helmet in our Rental Shop or purchase a helmet in our Finish Line Ski & Board Shop.
- Sunscreen and lip balm, SPF 15 or greater. Even on cloudy days it is very easy to get too much sun when on the snow.
- Eye protection. Either sunglasses or goggles. We sell goggles in our Finish Line Ski & Board Shop.
- Be sure to bring extra clothes to change into for the ride home!

The Pats Peak Finish Line Ski & Board Shop, conveniently located just steps from the slopes, carries everything listed above.
Stop by the shop upon arrival to Pats Peak and our friendly staff will help you complete your outfit!


Upon Arrival
Upon Arrival
Parking
There is plenty of free parking at Pats Peak Ski Area. If you arrive early in the day, you will probably get to park very close the the lodge area. For later arrivals, there are unloading zones in front of the lodge and ticketing areas.
First Stop – The Rental Shop

Head towards the lodges and enter our Rental Shop to equip you with the latest and greatest rental equipment. It is here where your journey to winter fun begins…the Rental Shop entrance is on the bottom floor of the lodge on your right.
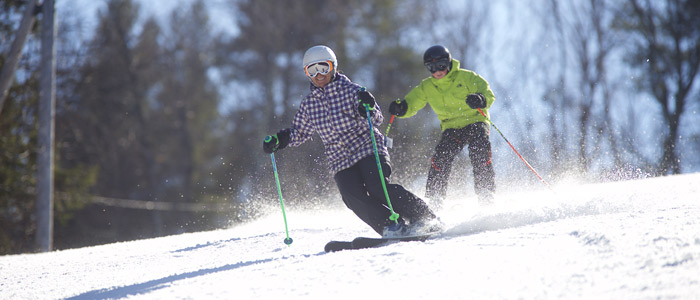

Starter Special

Starter Special
Our Starter Special package is a great way to learn!
STARTER SPECIAL – $125
For the First Time Skier Ages 7 and Up.
Includes Beginner Group Lesson, Rental Equipment, and Full Day Lower Mountain Lift Ticket (8:30am-4pm).
Book a Starter Special Online


Rentals
Rentals
Getting To Know Your Equipment
Fitting Your Ski Boots
The first equipment you are issued are your boots. The rental technician will need to know your shoe size to assure that your boots fit properly.
Your boots should feel snug around your foot, but not tight. Once buckled, you should be able to wiggle your toes, but your heel should not move when you pull up on it. If your boots feel too loose or too tight, please do not hesitate to ask for a different size!
Everything You Wanted to Know About Skis
Next, you will receive your skis. Our skis are expertly tuned and waxed. On the top of your skis you will find complicated bindings. These miracles of modern engineering not only hold your feet on the skis, but they also know when to let you go if you fall. A binding technician will set your bindings based on your weight, height, age, and ability level. Please be as accurate as possible to assure proper settings!
You will also be issued ski poles – which are used for balance and moving around. A good fit on ski poles is to grab the ski pole that puts your elbow at a 90 degree angle.
To use your bindings to attach your skis to your feet, place the little ledge on the front of your boot under the front binding piece (called the toe piece), line up your heel and press down. To get out, you simply press down on the lever in the back with your ski pole. If you ski comes off during skiing, the ski brake will stop it from continuing down the hill without you!
Snowboards 101
Snowboards work pretty much like skis do. The big difference is that they are much wider, and you only get one. They have a sidecut just like skis, and turn the same way a ski turns.
Snowboard bindings have one big difference from ski bindings – they don’t release! Once your feet are in, they should stay there. Getting in your snowboard bindings is easy, you put your foot as far back in the binding as possible, push the plastic ladder strap into the end of the main strap with the buckle on it, until the ratchet clicks and the straps will not come apart. To tighten the strap, pull the large lever on the buckle back and away from the boot. Then let the lever spring back to position and repeat until the strap is tight enough. The straps should generally be quite tight so that the boot cannot move much in the binding, although not so tight that your circulation is starting to be cut off. To release the binding simply push the release catch in the middle of the buckle forwards and pull the main strap away from the plastic ladder strap. The release catch lifts the ratchet off of the ridges on the ladder strap so that the straps can slide smoothly apart. When loading a lift, you will take out one of your feet out of your binding and keep the other one in.
Burton Learn To Ride (LTR) Center:

Designed to accelerate learning by utilizing beginner-specific equipment. It provides snowboard beginners with gear designed to improve their experience as well as proven teaching methods to make for an enjoyable and successful first day. The equipment is tailored by gender and age to maximize each individual’s learning potential.


What do Expect in a Lesson
What do Expect in a Lesson
In your lesson, you’ll learn all of the basic skills that you need to get started on a lifetime of skiing or snowboarding fun!
The first thing you will learn is how to put on your skis or snowboard and how to move around on the flat. This will give you a chance to get to know your equipment and get the feel for sliding around.
You will also learn how to climb up the hill and turn yourself around while standing still. All of these skills are presented in a very flat area with a “runout”. A runout helps you stop yourself while you are learning.
Next you will learn to slide straight down the hill. Unless you are an ice skater or in-line skater, your brain has been programmed to believe that sliding across the ground while standing up is, as a rule, something to be avoided. It takes a few runs down the hill before your brain figures out that it is not only OK, but a lot of fun.
Once you have mastered “straight runs”, you will be taught how to turn your skis or snowboard. Turning offers two benefits – it allows you to avoid things you do not wish to meet up close, and it allows you to stop whenever you want – both commendable goals.
Your rental skis or snowboard are designed to turn easily so you’ll be happily turning in no time. Once you get to the point that you can go where you want to go and stop yourself with confidence, it is time for your first lift ride.

The First Chair Lift Ride
The First Chair Lift Ride
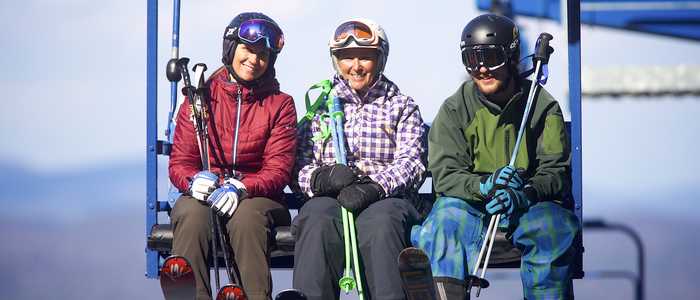
If you have ever sat on a porch swing, you have mastered the art of loading and riding a chairlift. As you slide out onto the loading area, the chair will come up behind you. When the chair touches the back of your legs, simply sit down and enjoy the ride. Get more details on how to load the Peak Triple Chairlift with the loading carpet. There is a restraint bar that you pull down in front of you for the ride, please use it.
At the top of the lift, you will see signs instructing you to raise the restraint bar and prepare to unload. The snow will gradually come up to meet your skis or snowboard. When you get to the “Unload Here” sign, stand up, lean slightly forward and slide straight down the ramp.
When you take your first look down the hill, you may feel like you have been deposited on the summit of Mount Washington – don’t worry look for the “easy way down” sign” and take that way down.

